DIY This French Tip With A Spring Twist
DIY nail designs can be daunting. Even for seasoned nail techs, a clean French tip takes more patience and skill than you’d think, but there’s no way we’ll give it up! And why does French always prevail? The grow out is so smooth and can last you longer than a solid color would (although bi-weekly manicures are always recommended). A little extra product on the tips also helps protect your nails from daily wear and tear.
Resident nail artist Carla has the perfect DIY-friendly design for spring. Colorful dots along the tips give this manicure a dainty yet mod look. Using a variety of colors adds to the playfulness: don't be afraid to mix and match pastels with bold, bright colors. If you’re looking for a more muted look, try using all pastels. Light colors are also extra forgiving if you’re new to DIY nail art. You can use a designated dotting tool, or the ends of a bobby pin. It’s also helpful to clean the tool in between colors. Too much product caked on can result in inconsistent shapes. Be sure to use light pressure and allow plenty of time to dry before top coat!
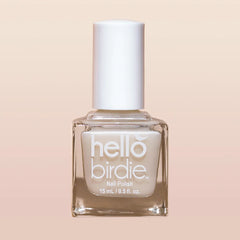
As for products, Birdie has you covered from start to finish:
Base Coat (infused with Argan oil)
Aloft
Parachute
Good Migrations
Caw Me Anytime
Moulten Lava
Roadrunner Top Coat
DIY ready? Check out a small detail in Carla's tutorial: she's placed all her colors on a piece of foil as a makeshift painter's palette. It's a neat way to keep colors organized without dipping into bottles repeatedly. Not only is it cleaner, it also keeps polish from drying out on the brush and in the bottle.
For more inspiration and tutorials, head over to our Instagram page!


